Anna Sakovska will tell you which products, tools, and accessories a brow artist needs to model the eyebrow shape. In this blog, a detailed instruction on eyebrow mapping before tinting awaits you.
Hi there 🫶🏻
Beauty Hunter and Anya Sakovska, Beauty Hunter LAB instructor, as well as brow artist and lamimaker, are here! Today, together we will learn how to build the correct eyebrow architecture before tinting.
Eyebrow modeling is as integral a part of eyebrow design as tinting. Of course, over time, a keen eye is developed and experienced artists can work without mapping, but absolutely all brow artists start specifically with building the correct eyebrow shape.
With the help of mapping, you can correct or change the eyebrow shape, fix asymmetry, and show the client how their future eyebrows will look.
Products for Eyebrow Mapping
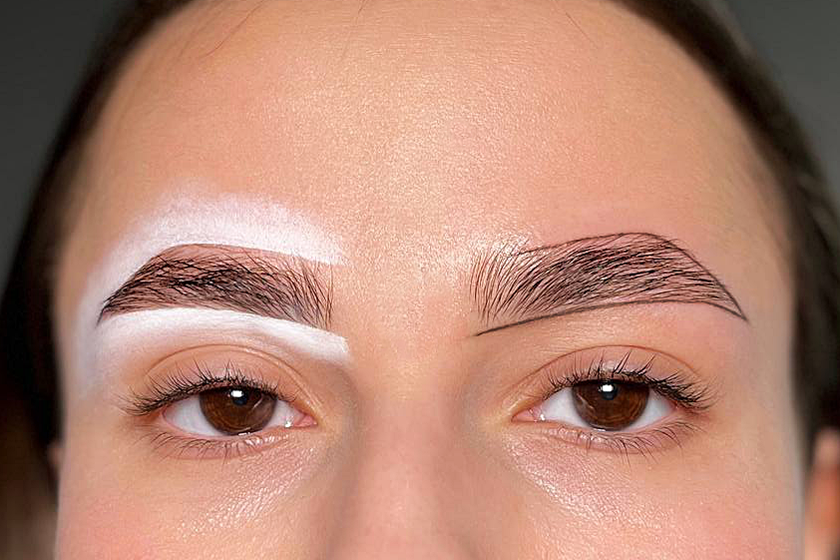
To create mapping, you can use both paste and a pencil. What are the differences?
Paste has a thick creamy texture, protects the skin from tinting, is applied with a synthetic brush (straight or angled), and is easily removed with a damp cotton pad. We apply dye and henna right up to the edge of the paste without going over it.
Pencil has a powdery texture and allows dye and henna to pass through (you can "step" on the pencil with the tint). It is easily cleaned up with a degreaser, shampoo, or special products such as Okis Clean Lines.
By the way, there is also a hybrid option — eyebrow paste in a pencil. The white pencil combines the texture of paste with the convenience of a pencil.
It is good for an experienced artist to be able to do mapping with both paste and pencil. The application methods differ, but the result is worth it.
Tools for Eyebrow Mapping
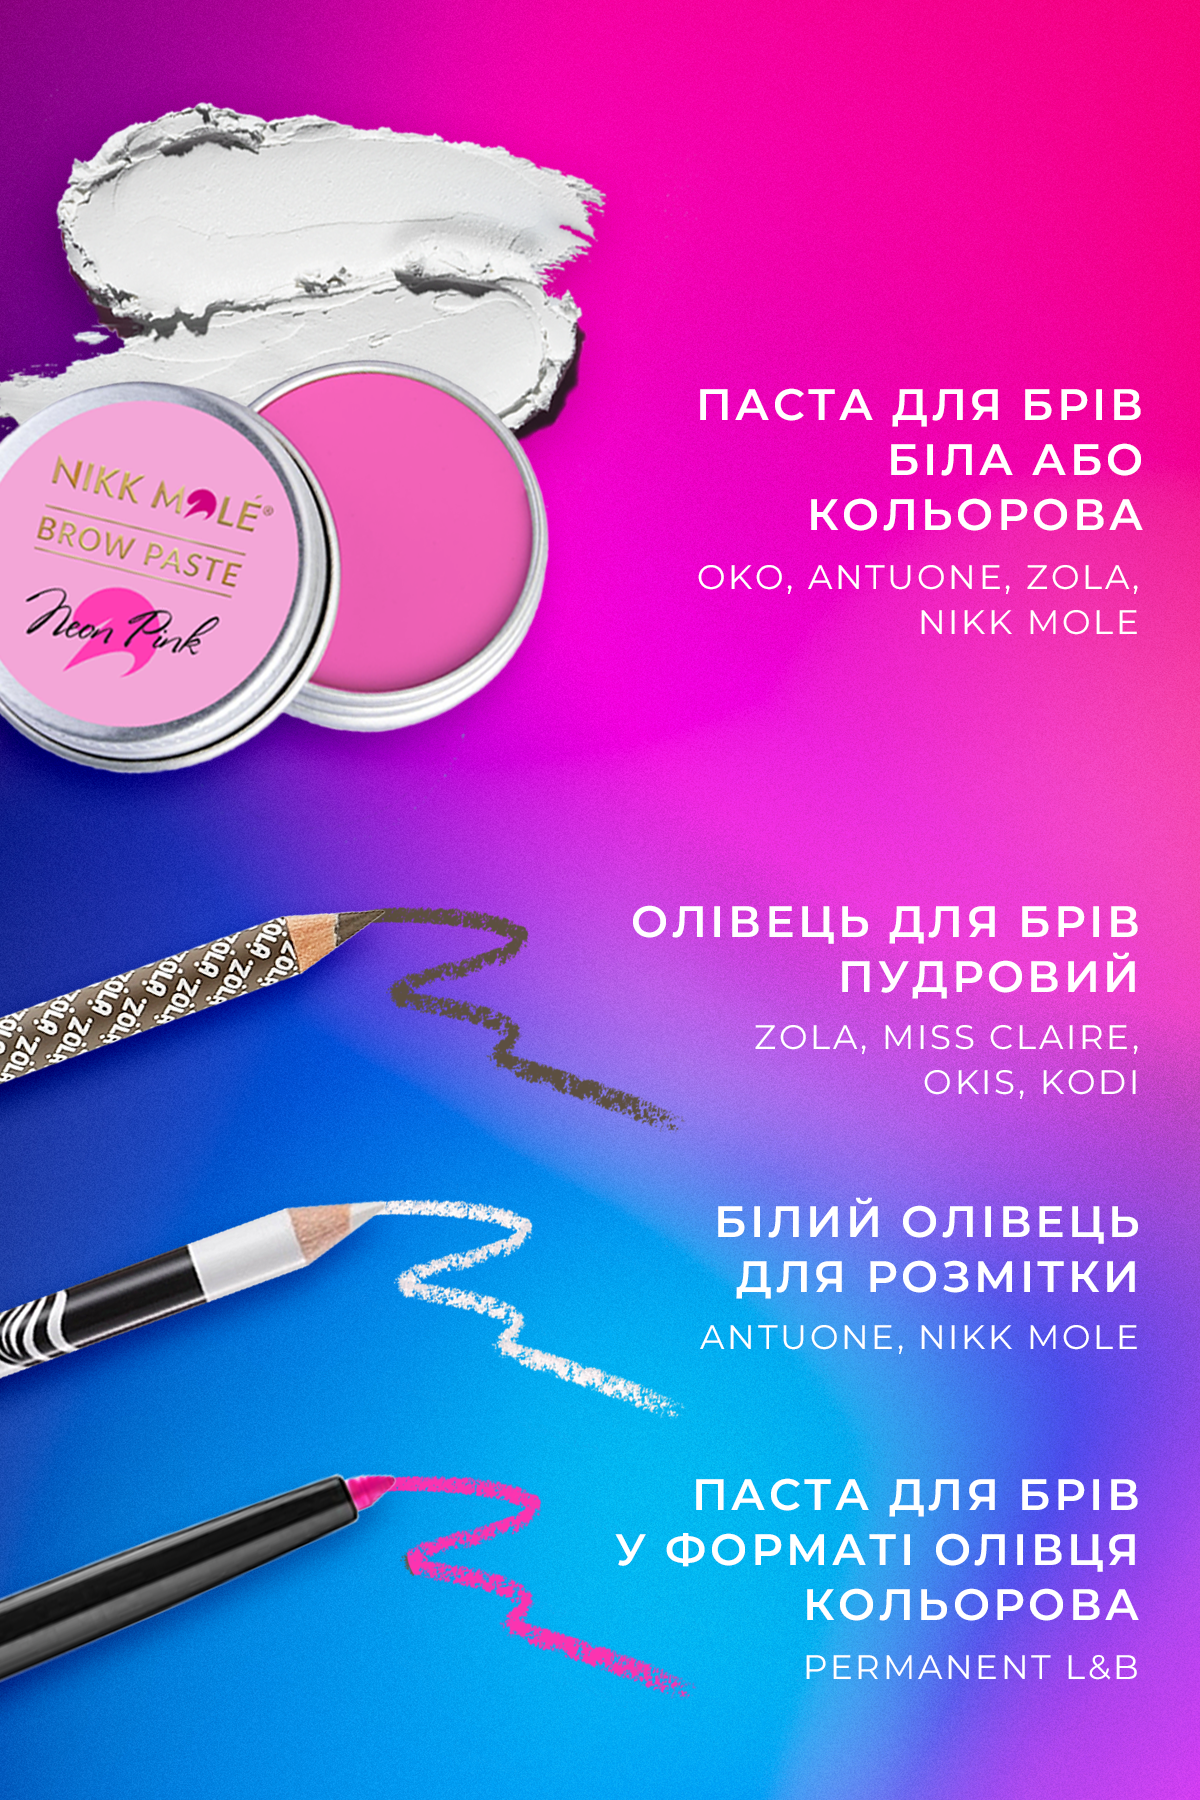
Now that we have decided on the mapping products, let's talk about the accessories and tools that can be used to build the correct eyebrow architecture. Every artist also chooses tools based on their own preferences and convenience. It is better for a beginner to try different possible options to find the best fit for themselves.
The following accessories exist for eyebrow shape mapping:
- Mapping string. You can use a classic threading string and color it with paste. One of the most convenient ways to model eyebrows! With a string, you can immediately build and mark parallels according to the anchor points, and then simply round the curve and apexes.
A variation on the theme is a pre-inked mapping string. The string is already saturated with pigment and is veeeery convenient to use. On the downside, it dries faster and, as a rule, the length of the string in the spool is significantly shorter than in a regular threading one. - Mapping ruler. A reliable way to build parallels and main lines and additionally measure symmetry.
A variation on the theme is an eyebrow caliper. - Brushes for mapping and cleaning lines. An absolutely essential tool for both paste and pencil work. Most often, a straight wide brush is chosen for mapping — it is convenient for building a parallel with dabbing motions or for cleaning up pencil mapping. Verdict — a must-have accessory, you can't go anywhere without it!
How to Build the Eyebrow Shape Correctly?
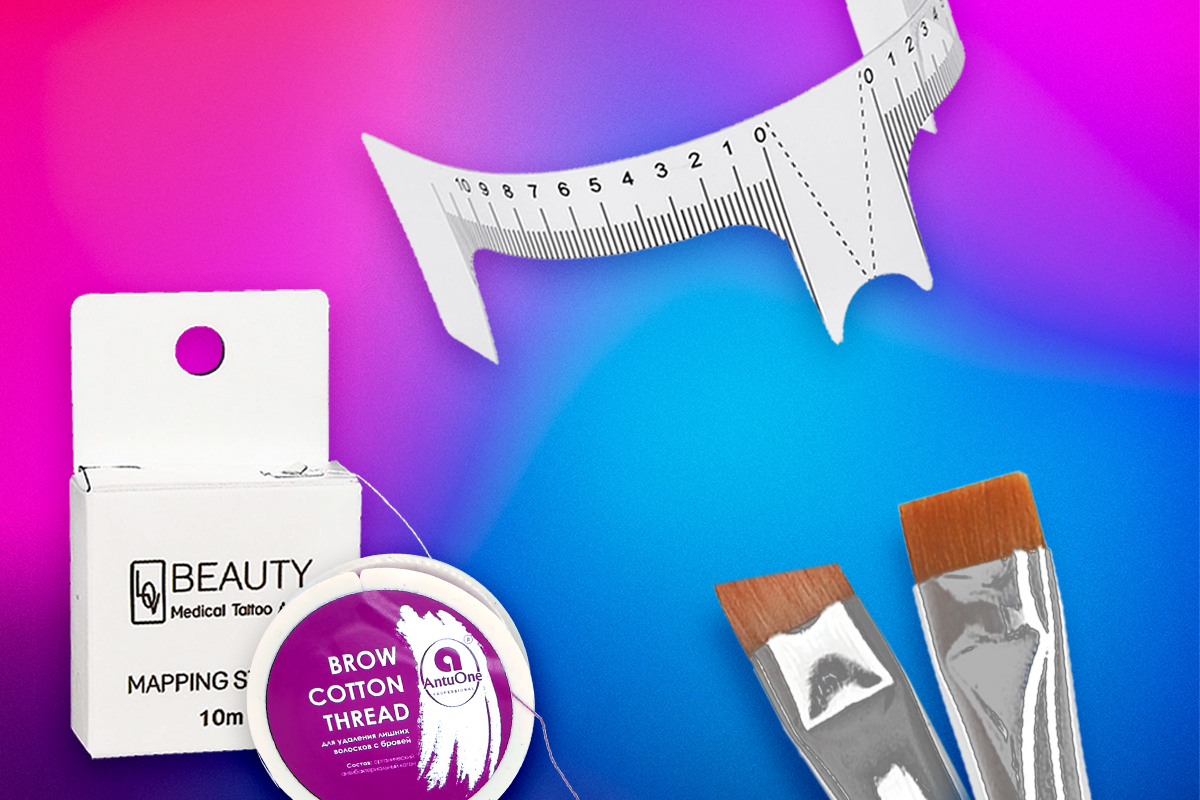
Correct eyebrow architecture is built on anchor points: the beginning of the brows, the apex (the highest point of the brow curve), the lower curve of the brow, and the tail. You need to clearly understand where the brow should begin, where it should end, and where the curve should be.
Step-by-step Instructions for Building the Eyebrow Shape
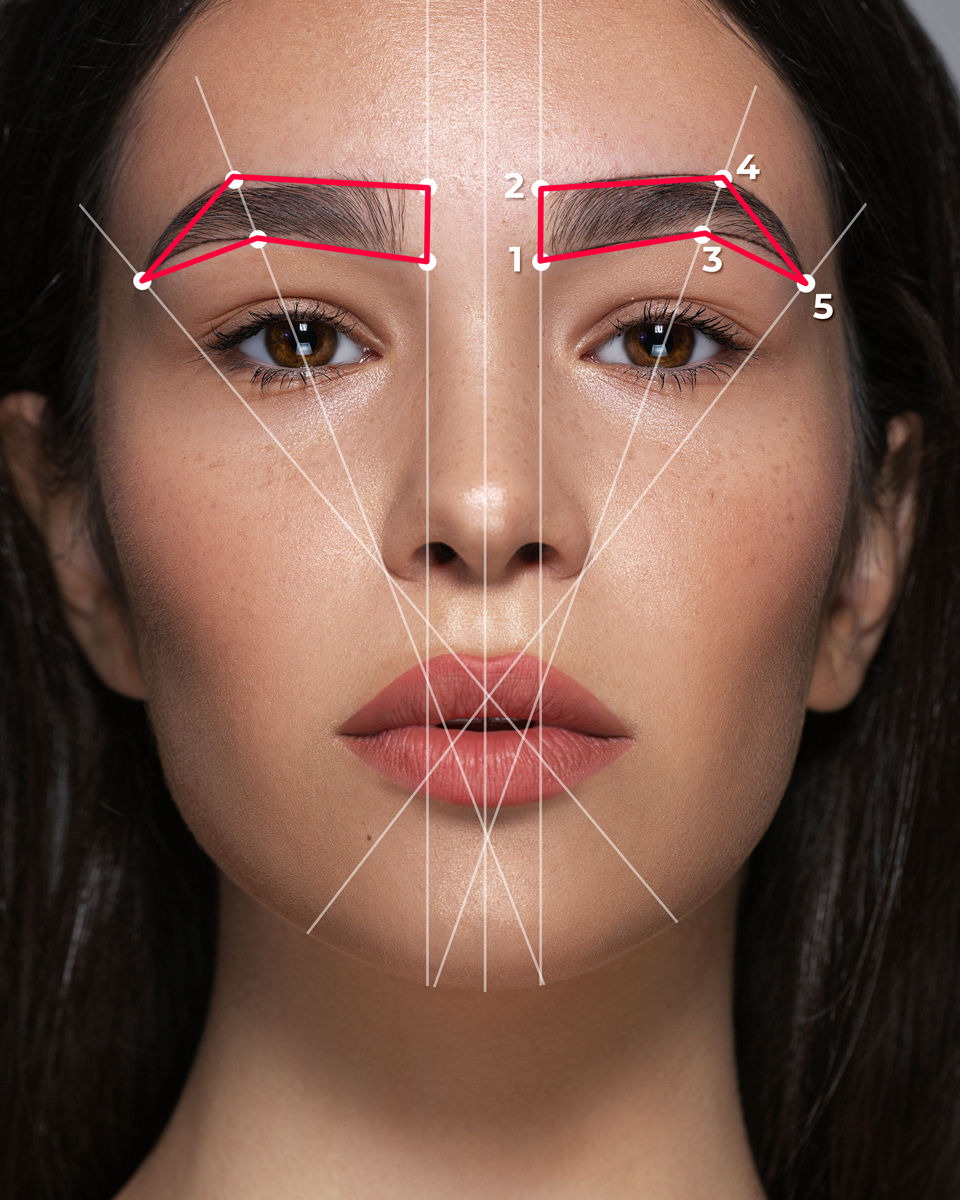
- Determine the center of the face. To do this, we need to draw a visual vertical line through the middle of the chin, the Cupid's bow of the upper lip, and the middle of the nose. We mark the first point between the eyebrows.
- Determine the beginning of the brow (points 1 and 2). To do this, we draw a visual vertical line through the wings of the nose (piercing) up to the brow and mark a point at the beginning of the lower horizontal; this will be point 1.
To find point 2, we simply transfer point 1 parallel to the upper horizontal based on the width of the brow. - The next step is the brow arch, point 3 (the break on the lower horizontal) and the apex, point 4 (the highest point of the brow, the break on the upper horizontal).
Draw a visual line through the wing of the nose and the pupil (the client must look straight ahead), find point 3 on the lower horizontal, and point 4 on the upper horizontal will be visible here as well. The apex will be shifted slightly closer to the tail than the arch. - Finally, find the eyebrow tail, point 5. Draw a visual line through the wing of the nose and the outer corner of the eye and mark point 5.
All points are set, and all that's left is to connect them. We start with the lower horizontal:
Connect point 1 to point 3.
Connect point 3 to point 5.
Moving to the upper horizontal:
Connect point 2 to point 4.
Connect point 4 to point 5.
Depending on the face shape and the client's wishes, the curve can be more angled or rounded.
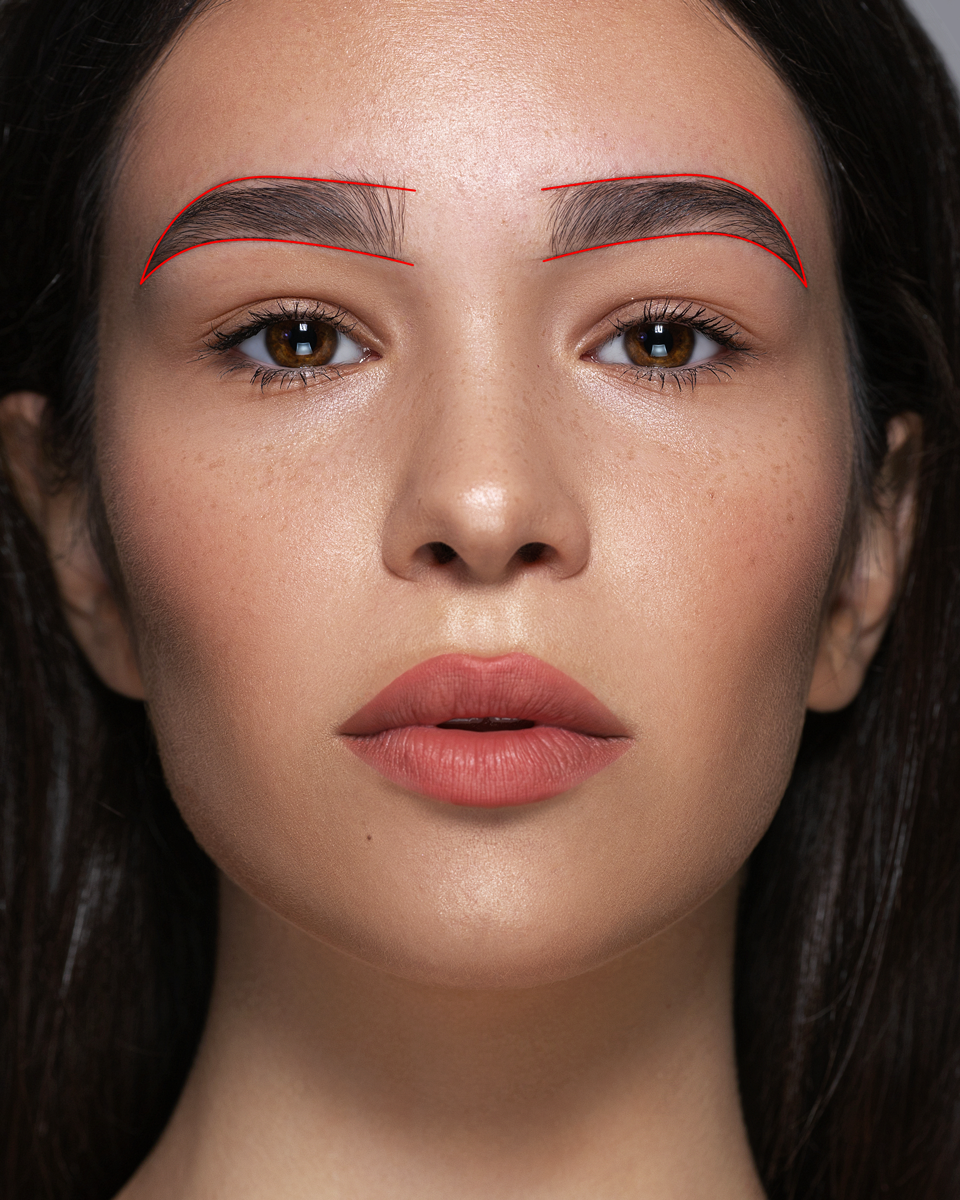
Important rules:
- Point 1 and point 5 should be on the same horizontal line.
- Points 1 and 3 are always parallel to points 2 and 4.
- The tail should occupy 1/3 of the entire brow (remember the golden ratio rule).
Well, our perfect mapping is ready; you can proceed to tinting 🫶🏻