Sterilization of instruments is the foundation for guaranteeing client safety, especially for manicure, pedicure, and podiatry technicians. In this article, Beauty Hunter talks about all the rules, stages of sterilization, and potential mistakes during instrument processing.
Article content:
Instrument sterilization - a mandatory rule for every technician
How to properly sterilize manicure and pedicure instruments
Disinfection of manicure and pedicure instruments
Proper instrument sterilization
Thermal (hot) instrument sterilization
Chemical (cold) instrument sterilization
Proper storage of sterile instruments
Which sterilization equipment to choose for a nail technician
Basic mistakes in the sterilization of manicure and pedicure instruments
Sterilization is a necessary and mandatory stage in preparing instruments for work. Thanks to proper processing, your instruments become safe when working with clients. Proper sterilization completely destroys all types of microorganisms, bacteria, viruses, and fungi that can be transmitted from client to client.
A professional who monitors the cleanliness of their instruments not only cares about the health of their clients but also demonstrates a high level of responsibility. Sterility is a technician's business card. It is what forms the trust and sense of safety that makes a client return again.
Instrument sterilization - a mandatory rule for every technician
Any instrument, whether it is tweezers, nippers, or scissors, comes into contact with the skin and nails, potentially becoming a carrier of infection. Therefore, proper instrument processing is a professional necessity.
Violation of sanitary requirements entails not only the loss of clients but also administrative liability. In Ukraine, compliance with sanitary standards is monitored by the State Service of Ukraine on Food Safety and Consumer Protection (State Consumer Service).
The main risks of incorrect sterilization are:
- infection of clients with hepatitis B, C viruses, HIV, fungal infections;
- damage to instruments if using incorrect solutions or exceeding the concentration;
- loss of client trust, when even one instance of negligence can ruin years of reputation.
How to properly sterilize manicure and pedicure instruments
Sterilization is a multi-step process, and all its stages are mandatory. Proper instrument sterilization and disinfection includes the following steps:
- Preliminary cleaning of instruments;
- Disinfection of instruments;
- Sterilization of instruments;
- Proper storage of sterile instruments.
Let's take a closer look at what happens at each of these stages.
Preliminary cleaning
The first important stage is rinsing the instruments under running water. As a rule, 1–3 minutes is enough to remove residues of biological tissues, dust, creams, and other contaminants. This step not only makes subsequent processing more effective but also protects the instrument's surface from aggressive chemical compounds.
Disinfection of manicure and pedicure instruments
Disinfection is the stage where bacteria, fungi, and viruses are partially destroyed. The procedure is carried out using special liquids and concentrates, which are selected depending on working conditions.
Ready-to-use products that do not require dilution include:
- AHD 2000 Express. A fast-acting antiseptic, suitable for instant treatment.
- Bacillol AF. A ready-to-use liquid agent for disinfecting instruments and surfaces.
- Solnex Green Line Rapid. A safe composition that can be used for instruments, surfaces, and skin.
The method of working with such products may vary: some require soaking the instrument, others require spraying until the surface is completely wetted. Exposure time usually varies from 10 seconds to 1 minute. It is important to strictly follow the manufacturer's instructions — this is a guarantee of effectiveness and preservation of the instrument.
Sterilization concentrates must be properly diluted with water in accordance with the recommendations on the packaging. Popular agents among technicians are:
- Dezekon by MicroStop — a concentrate for disinfection and pre-sterilization processing;
- Universal disinfectant ProDez;
- Enzimsept — a concentrated solution for disinfection.
Such concentrates always have their own instructions for dilution and instrument soaking time, which are important to follow. The concentration of solutions may change depending on the brand or needs. It is not recommended to exceed the concentration or exposure time, as this will not enhance the effect but may damage the cutting edges or coating.
A ready-made solution can be used for a limited time, which is also indicated on the packaging. After its expiration, the composition loses its activity and must be replaced.
Often, for this stage, manicure and pedicure technicians use special ultrasonic baths for soaking instruments in a solution. In such baths, in addition to treatment with a disinfectant composition, the instrument is additionally treated with ultrasound, which is guaranteed to remove all contaminants from the surface.
Proper instrument sterilization
The final and most responsible stage of processing is instrument sterilization. It ensures the complete destruction of all microorganisms, including bacterial spores resistant to disinfectants. Without this stage, even the highest-quality solutions do not guarantee 100% safety.
Sterilization can be thermal or chemical (cold). Both methods are acceptable, but each has features that are important to consider.
Thermal (hot) instrument sterilization
Thermal sterilization is the most reliable and recognized method. It is carried out using a dry heat sterilizer (dry heat) or an autoclave.
Dry heat destroys microorganisms through exposure to high temperatures (usually 180–200 °C).
Autoclave works using saturated steam under pressure at lower temperatures (about 120–134 °C).
Both methods provide guaranteed sterility if all processing parameters are met and the instruments have previously undergone full cleaning and disinfection.
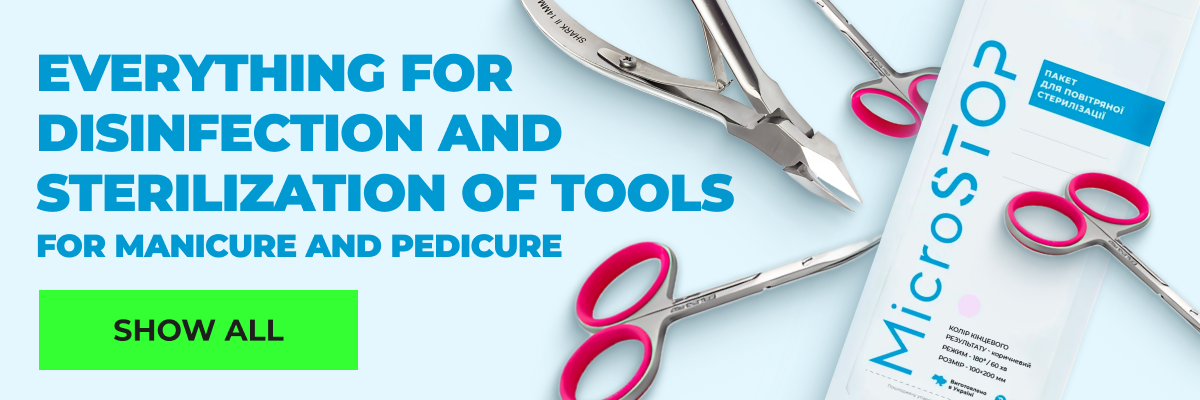
Before placing instruments in the sterilizer, they must be dried well and packed in kraft pouches. The packaging protects the surface from re-contamination and maintains sterility until the moment of opening in front of the client. Each kraft pouch has an indicator that changes color after the sterilization cycle has been properly completed, confirming that the instruments are indeed processed.
The vast majority of manicure, pedicure, and podiatry technicians process working instruments thermally (in a dry heat sterilizer or autoclave).
Chemical (cold) instrument sterilization
The method of cold chemical sterilization is relevant for instruments that cannot withstand heat. It is based on the action of special concentrates — disinfectants with an extended spectrum of activity.
For sterilization, high-concentration solutions, usually 2.5–5%, are used, in which instruments are completely immersed for a certain time.
The average exposure time is about 15 minutes for a 5% solution and 25–30 minutes at 2.5%. After the specified time, the instruments must be thoroughly rinsed under running water and dried.
IMPORTANT! Different products may have different proportions for diluting the concentrate for chemical sterilization. Be sure to study the instructions and the solution concentration table for each specific product.
Solutions can be used repeatedly — usually up to 14 days, unless the manufacturer specifies otherwise. After this, the composition must be completely replaced.
The main rule is not to leave instruments in the solution longer than the recommended time: this can lead to loss of shine, discoloration, or damage to the coating.
Proper storage of sterile instruments
Even perfectly performed sterilization will be meaningless if storage rules are violated. The main goal of this stage is to preserve sterility until the instrument is used.
According to sanitary standards, sterile instruments are stored only in sealed kraft pouches. Each pouch must be intact, dry, and have an indicator confirming sterilization.
In a salon, instruments can additionally be stored in a UV cabinet, which maintains cleanliness and prevents secondary contamination. For home-based technicians, an airtight container or a closed drawer protected from dust and moisture is sufficient.
Important: the pouch is opened immediately before the client, which demonstrates the technician's professionalism and guarantees that the instrument is indeed sterile.
You cannot store sterilized instruments next to non-sterile ones or use the same surface for different categories. It is optimal to designate a separate area — "clean" and "dirty" — to eliminate cross-contamination.
Which sterilization equipment to choose for a nail technician
There are several options for sterilization equipment on the modern market. The choice depends on the technician's work format — salon, cabinet, or home reception. It is important to understand that each device performs its own function, and the correct combination of devices is the key to complete safety.
A dry heat sterilizer (dry heat) is a classic sterilization device. It destroys bacteria, fungi, and viruses by exposing them to high temperatures — on average from 180 to 200 °C.
Advantages of a dry heat sterilizer:
- complete sterility without using chemicals;
- ease of use;
- possibility of processing instruments in kraft pouches.
For salons, a dry heat sterilizer is considered the gold standard, as it is suitable for any metal instruments and provides quality control via thermal indicators. For a technician working at home, you can choose a compact model with a chamber volume of up to 3 liters — it will take up minimal space but will handle its tasks.
An autoclave is a professional device that sterilizes instruments using steam under pressure. The temperature in the working chamber is lower than in a dry heat sterilizer, but thanks to the combination of moisture and pressure, even resistant forms of bacteria and spores are destroyed.
Advantages of an autoclave:
- high processing speed (on average 15–20 minutes);
- gentle effect on the instrument surface;
- suitable for all types of instruments, including those with complex geometry.
An autoclave is more expensive, but its efficiency and durability make it the best choice for salons with a large flow of clients. When purchasing, it is important to consider the chamber volume and the presence of automatic sterilization programs.
For storing already sterile instruments, a UV cabinet is used. Despite the common misconception, a UV cabinet does not sterilize, but ensures the sterility of already processed instruments. Its function is to prevent re-contamination after sterilization.
A UV cabinet is useful as the final element of a sterilization system. It is especially convenient for technicians who perform several procedures in a row — instruments remain protected until they are used.
How to choose equipment? Here are a couple of helpful tips:
- For a salon, the optimal combination is autoclave + UV cabinet. Such a set provides sterilization according to medical standards and is suitable for any volume of work.
- For a home technician, a dry heat sterilizer and an airtight container for storing kraft pouches are sufficient. This is a safe and economical option that meets sanitary requirements.
When purchasing, pay attention to the presence of quality certificates and compliance with sanitary standards, as well as the possibility of calibrating the temperature and cycle time — this affects the processing result.
Basic mistakes in the sterilization of manicure and pedicure instruments
Even with professional equipment, you can make mistakes that reduce processing efficiency to zero. Below are the most common violations that technicians encounter:
- Insufficient processing time. Each agent and device has a strictly regulated sterilization time. Shortening the cycle is one of the main reasons why microorganisms survive. For example, if you set the temperature at 180 °C in a dry heat sterilizer but shorten the cycle to 30 minutes instead of 60, sterilization will be incomplete.
- Incorrect temperature. The temperature regime is selected strictly according to the equipment manufacturer's instructions. Overheating can damage the instrument, and a temperature that is too low may not destroy bacteria. It is recommended to periodically check the accuracy of the device and perform calibration.
- Using unsuitable solutions. For chemical sterilization, it is extremely important to maintain the solution concentration. A solution that is too weak will not ensure complete disinfection, and one that is too concentrated may damage the instrument's coating. The table of correct proportions is indicated on the packaging of each concentrate. You should also remember that ready-made solutions have a limited shelf life: on average 10-14 days when stored in a closed container away from light.
- Lack of kraft pouches. Some technicians are in the habit of placing instruments in the sterilizer without packaging. This is a gross mistake. Without a kraft pouch, the instrument loses its sterility immediately after the cycle upon contact with the air.
- Violation of storage rules. Even an ideally sterilized instrument can become a source of infection if stored in an open container or next to non-sterile items. Instruments must be stored in individual pouches, in a clean dry area, or in a UV cabinet, and opened only in the client's presence.